Step into any busy laboratory, and your eyes are instantly drawn to the bubbling, colourful liquids sitting neatly on the black slate workbenches. But what exactly is holding those fascinating chemical reactions? It is a simple piece of equipment so common and reliable that we often take its clever, practical design completely for granted. Today, we are going to explore the ultimate, universally recognised symbol of scientific discovery. Whether you are excitedly mixing up a messy, erupting volcano experiment at home or watching a teacher demonstrate a complex colour-changing reaction at school, this humble, round container is always the undeniable star of the show.
Meaning Of Beaker
If you open a thick, traditional dictionary, the meaning of “beaker” historically refers to a large, wide drinking cup used hundreds of years ago. However, when we step through the heavy doors into the exciting world of chemistry, the word takes on a much more specific and highly practical meaning. So, exactly what is the beaker? In the modern scientific community, it is a simple, cylindrical container featuring straight vertical sides and a completely flat, highly stable bottom.
If you look very closely at the top rim, you will instantly spot a tiny, curved indent. This clever little spout is officially called a ‘beak’, which is actually where the vessel gets its famous name! This tiny curve makes pouring dangerous or messy liquids incredibly easy and safe. Unlike a narrow glass bottle or a curvy, restrictive flask, the wide, open top allows young scientists to easily stir their ingredients, drop in chunky solid materials, and cleanly watch massive chemical reactions happen right before their eyes.
Read More How do you make science interesting for kids?
The Magic Behind The Beaker Glass
You might naturally wonder why brilliant scientists do not just use ordinary kitchen cups or standard drinking glasses for their messy, bubbling experiments. The secret to their success lies entirely in the specific manufacturing materials. A proper, heavy-duty beaker glass is absolutely not made from the same fragile, brittle material as your living room windows or your kitchen tumblers. It is usually crafted from a highly specialised, incredibly tough material known as borosilicate glass.
This unique, heavy-duty glass is a genuine lifesaver in the laboratory environment. It can confidently withstand incredibly high, roaring temperatures without shattering into dangerous, sharp pieces. Have you ever poured boiling hot water into a cold drinking glass and watched it instantly crack down the middle? That is called thermal shock. Borosilicate glass is specifically designed to withstand thermal shock. You can safely place this container directly over a roaring, hot blue Bunsen burner flame to vigorously boil water, and then shortly after, plunge it into a freezing ice bath without it cracking at all. This extreme physical durability makes the science beaker the safest possible tool for young, deeply curious minds exploring physical changes and reactions to extreme heat.
Every day Beaker Use in the Laboratory
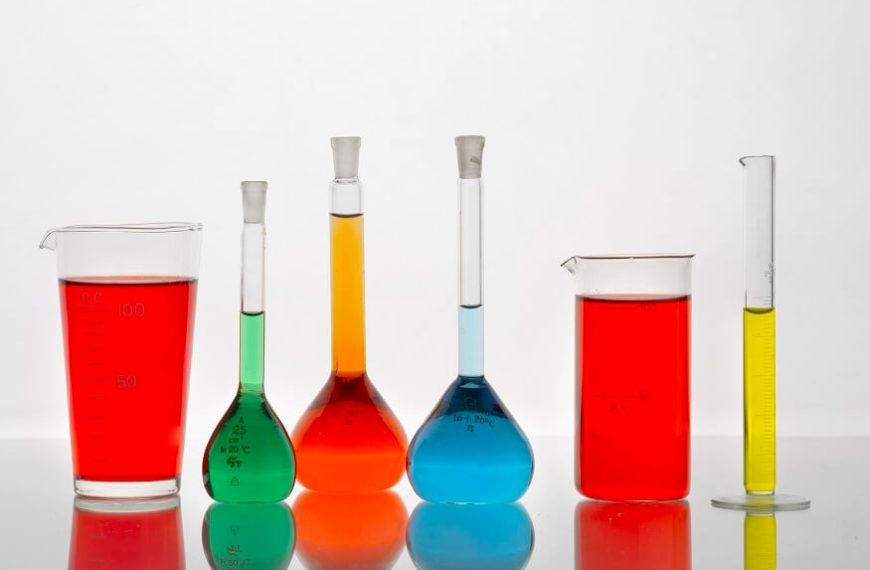
A beaker is basically the heavy-duty, all-purpose mixing bowl of the scientific world. While it usually has neat, white-painted numbers on the side to indicate the liquid volume, those lines are only intended for very rough estimates; strict scientists use specialised, much narrower glass tools when they need absolute, pinpoint accuracy. Here is a detailed, practical list of the most common and exciting ways scientists put this brilliant tool to work:
- Mixing and Stirring Ingredients: Because of the wide, unrestricted opening at the top, you can easily slide a thick glass stirring rod inside to rapidly mix heavy powders into thick liquids, exactly like stirring sticky sugar into a hot cup of morning tea.
- Heating Chemical Solutions: Thanks to the incredibly tough, heat-resistant glass we mentioned earlier, these sturdy containers are often placed over open flames or hot metal plates to safely boil liquids and slowly melt stubborn solids.
- Catching Liquid Drips: When a busy scientist is carefully filtering a muddy, dirty liquid through a paper funnel to clean it, they will place this wide, stable container securely underneath to catch every single clean, purified drop as it passes through the filter.
- Safe Temporary Storage: If a long, complicated experiment requires a specific liquid mixture to sit quietly overnight, the flat, heavy bottom perfectly ensures the container will not easily tip over and accidentally spill harsh, dangerous chemicals across the wooden workbench.
Read More Fascinating Science Facts for Kids
Learning Through Hands-On Discovery
Children absolutely do not learn about the complicated physical properties of the world by simply staring silently at flat, boring textbooks. They learn by physically touching, pouring, and making a massive mess. When a child carefully grips a sturdy glass container and watches two completely clear liquids magically turn bright, vibrant pink when mixed together, a permanent, powerful connection forms in their rapidly developing brain.
This active, highly physical style of hands-on problem-solving is the absolute core foundation of the Heureka curriculum. It cleverly and deliberately replaces boring, rigid memorisation with thrilling, practical, messy experiments. It allows young children to act exactly like real, professional chemists in their own little classroom laboratories, proving that the absolute best way to learn is to simply roll up your sleeves and get involved.
Conclusion
When we finally strip away all the complicated, expensive laboratory equipment and the heavy, confusing academic terminology, the true, beating essence of science is simply about boldly mixing different things together to see exactly what happens next. The humble, perfectly cylindrical glass sitting quietly on the workbench is the absolute perfect stage for these tiny, daily scientific miracles. It serves as a beautiful reminder that you absolutely do not need incredibly complex, highly confusing machinery to make a massive, world-changing discovery; sometimes, you just need a sturdy, heat-resistant pot and a fiercely curious, unstoppable mind. Providing children with the correct, safe tools naturally channels their endless, chaotic energy into structured, highly logical exploration.
Nurture your child’s natural, wild love for messy scientific discovery by exploring the brilliant educational resources on the EuroKids Blog, and take the next exciting step in their academic learning journey through EuroKids Preschool Admission today.
FAQs
1. Can you measure exact amounts of liquid in these specific containers?
No, the painted markings on the side are only intended for very rough volume estimates. If a strict scientist needs a perfectly exact, pinpoint measurement for a test, they will always use a tall, thin measuring cylinder instead.
2. Are they ever made of plastic instead of glass?
Yes, absolutely! While thick glass is the most famous and traditional material, many modern primary schools use tough, flexible plastic versions for young children so they do not accidentally smash on the hard floor during a noisy, highly active science lesson.
3. Why do they all feature that tiny spout on the top rim?
The small, curved pouring spout, affectionately known as the ‘beak’, is specifically and cleverly designed to completely stop dangerous liquid chemicals from dripping down the outside of the smooth glass and accidentally burning the scientist’s hands.