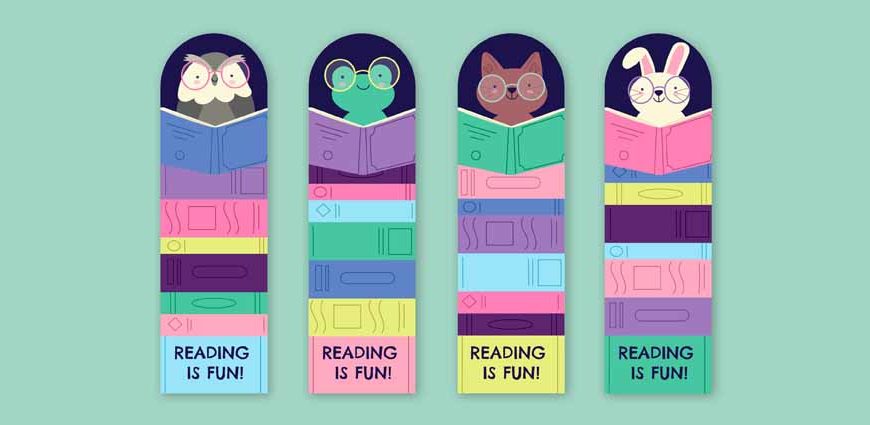
Bookmarks play a significant role in encouraging children to develop a love for reading. By creating their own bookmarks, kids can take pride in their creations, be more excited to use them, and develop a sense of ownership over their reading journey. In this article, we’ll explore 12+ easy bookmark ideas for kids that are perfect for unleashing their creativity. These bookmark making ideas for kids are not only simple but also fun, making them perfect for children of all ages.
- Colourful Paperclip Bookmarks
- Cut several 4-inch long pieces of colourful ribbon.
- Thread the ribbon through the top loop of the paperclip.
- Tie a double knot to secure the ribbon in place.
- Trim any excess ribbon, if desired.
- Popsicle Stick Bookmarks
- Paint the popsicle sticks with your chosen colours and let them dry completely.
- Use markers to draw designs, patterns, or write words on the painted popsicle sticks.
- Allow the ink to dry before using the bookmarks.
- Origami Corner Bookmarks
- Cut a square piece of paper with a side measuring 6 inches.
- Fold the paper in half diagonally, creating a triangle.
- Fold the bottom right corner up to meet the top corner.
- Fold the bottom left corner up to meet the top corner.
- Unfold the previous two folds, opening the paper back into a triangle.
- Fold the top corner down, aligning it with the bottom edge.
- Refold the right corner up, tucking it under the folded-down top corner.
- Refold the left corner up, tucking it under the folded-down top corner.
- Use markers to decorate the origami bookmark with designs or characters.
- Beaded Bookmarks
- Cut a piece of string about 12 inches long.
- Tie a knot at one end of the string to prevent beads from sliding off.
- Thread beads and charms onto the string, creating a pattern or design.
- Once the desired length is reached, tie a knot at the other end of the string to secure the beads.
- Trim any excess string, if necessary.
- Paper Quilling Bookmarks
- Choose quilling paper in various colours.
- Create basic quilling shapes such as circles, teardrops, and marquises by rolling the paper around a quilling tool or a toothpick.
- Glue the quilled shapes onto a strip of cardstock or thick paper to create a unique design.
- Allow the glue to dry completely before using the bookmark.
- Felt Animal Bookmarks
- Cut a strip of felt approximately 1 inch wide and 6 inches long to serve as the bookmark base.
- Glue the felt animal shapes onto the strip of felt.
- Allow the glue to dry completely before using the bookmark.
- Button Bookmarks
- Choose buttons with interesting designs or colours.
- Apply glue to the back of the button.
- Press the button onto the top of the paper clip, ensuring it is securely attached.
- Allow the glue to dry completely before using the bookmark.
- Tassel Bookmarks
- Cut a piece of cardstock approximately 2 inches wide and 6 inches long.
- Choose a colour of embroidery thread and cut a 10-inch long piece.
- Wrap the embroidery thread around your fingers multiple times, creating a loop.
- Tie the 10-inch long piece of thread around the top of the loop, creating a small knot.
- Cut through the loop at the bottom to create the tassel.
- Glue the top of the tassel to the top of the cardstock strip.
- Allow the glue to dry completely before using the bookmark.
- Magnetic Bookmarks
- Cut a piece of cardstock approximately 2 inches wide and 4 inches long.
- Fold the cardstock in half, creating a 2-inch by 2-inch square.
- Decorate the outside of the cardstock with markers, creating a design or pattern.
- Cut two small pieces of magnetic strip and peel off the adhesive backing.
- Attach one magnetic strip to the inside of each side of the folded cardstock.
- Press the magnetic strips firmly to ensure they adhere to the cardstock.
- Pipe Cleaner Bookworms
- Choose a pipe cleaner in a fun colour.
- Shape the pipe cleaner into a wavy worm-like shape.
- Glue googly eyes onto one end of the pipe cleaner to create the worm’s face.
- Allow the glue to dry completely before using the bookmark.
- Foam Shape Bookmarks
- Cut various shapes from foam sheets, such as stars, hearts, or circles.
- Cut a strip of foam approximately 1 inch wide and 6 inches long to serve as the bookmark base.
- Glue the foam shapes onto the strip of foam, creating a pattern or design.
- Allow the glue to dry completely before using the bookmark.
- Personalised Photo Bookmarks
Materials:
– Large paper clips
– Colourful ribbons
Step-by-step process:
These bookmarks are simple and cost-effective, allowing children to express their creativity by choosing various ribbon colours and patterns.
Materials:
– Popsicle sticks
– Paint
– Markers
Step-by-step process:
These bookmarks offer endless possibilities for personalisation and design, helping to stimulate children’s creativity.
Materials:
– Colourful paper
– Markers
Step-by-step process:
Origami bookmarks not only help children develop their creativity, but also improve their fine motor skills and teach patience.
Materials:
– String
– Beads
– Charms
Step-by-step process:
These beaded bookmarks provide a tactile and visually appealing option for children, encouraging them to explore different patterns and colour combinations.
Materials:
– Quilling paper
– Glue
Step-by-step process:
Paper quilling bookmarks help children develop their fine motor skills and patience while creating intricate and unique designs.
Materials:
– Felt
– Scissors
– Glue
Step-by-step process:
Draw or print animal shapes and use them as templates to cut out felt pieces.
Felt animal bookmarks offer a soft and tactile alternative for children, allowing them to create their favourite animals or characters.
Materials:
– Buttons
– Paper clips
– Glue
Step-by-step process:
Button bookmarks help children repurpose everyday items into functional and creative bookmarks, promoting resourcefulness and creativity.
Materials:
– Embroidery thread
– Scissors
– Cardstock
Step-by-step process:
Tassel bookmarks provide an elegant option for children to create, fostering an appreciation for craftsmanship and attention to detail.
Materials:
– Magnetic strips
– Cardstock
– Markers
Step-by-step process:
Magnetic bookmarks are a functional and creative bookmark idea for kids, ensuring that their bookmarks stay securely in place while reading.
Materials:
– Pipe cleaners
– Googly eyes
– Glue
Step-by-step process:
Pipe cleaner bookworms offer a quirky and fun bookmark option for children, encouraging them to use their imagination and creativity.
Materials:
– Foam sheets
– Scissors
– Glue
Step-by-step process:
Foam shape bookmarks provide a colourful and tactile bookmark idea for kids, allowing them to explore different shapes and patterns.
Materials:
– Photos
– Cardstock
– Glue
– Scissors
Step-by-step process:
- Print and cut out photos of your child or their favourite characters.
- Cut a piece of cardstock approximately 2 inches wide and 6 inches long.
- Glue the photo onto the cardstock strip, positioning it at the top.
- Decorate the cardstock with markers, stickers, or other embellishments, if desired.
- Allow the glue to dry completely before using the bookmark.
Personalised photo bookmarks offer a unique and memorable option for children, helping them feel more connected to their reading experience.
These 12+ easy and fun DIY bookmark ideas for kids are perfect for inspiring creativity and encouraging a love for reading. By creating bookmarks, children can develop their artistic skills, fine motor skills, and patience, all while making functional and personalised items. Providing children with various bookmark ideas fosters a sense of ownership over their reading journey and helps them feel more connected to the books they read.
At EuroKids, we believe in fostering creativity and a love for learning in children. These DIY bookmark ideas are a great way for kids to explore their artistic side while also creating something functional and personal. So, get started on your bookmark-making adventure today and watch your child’s love for reading grow.